There was a time when we bought CDs, and then with the MP3 format we started to rip our CD’s and just use our computer like a jukebox, eventually just buying the MP3 files online. Of course today we have streaming services giving you access to just about all music for about the price of a CD per month, but if you’re older you might have a bunch of ripped MP3’s sitting around you might want to listen to, and Navidrome is a nice web based music server that makes searching and pulling up those MP3’s pretty easy. Funny, I still have a storage containers of physical media CDs and records in the garage where many of the MP3’s came from, and recently I saw one of the manufacturers were no longer going to make Blue-ray/DVD players signalling the incoming end of physical video media as well. Anyway, this project keeps your digital media alive and accessible.
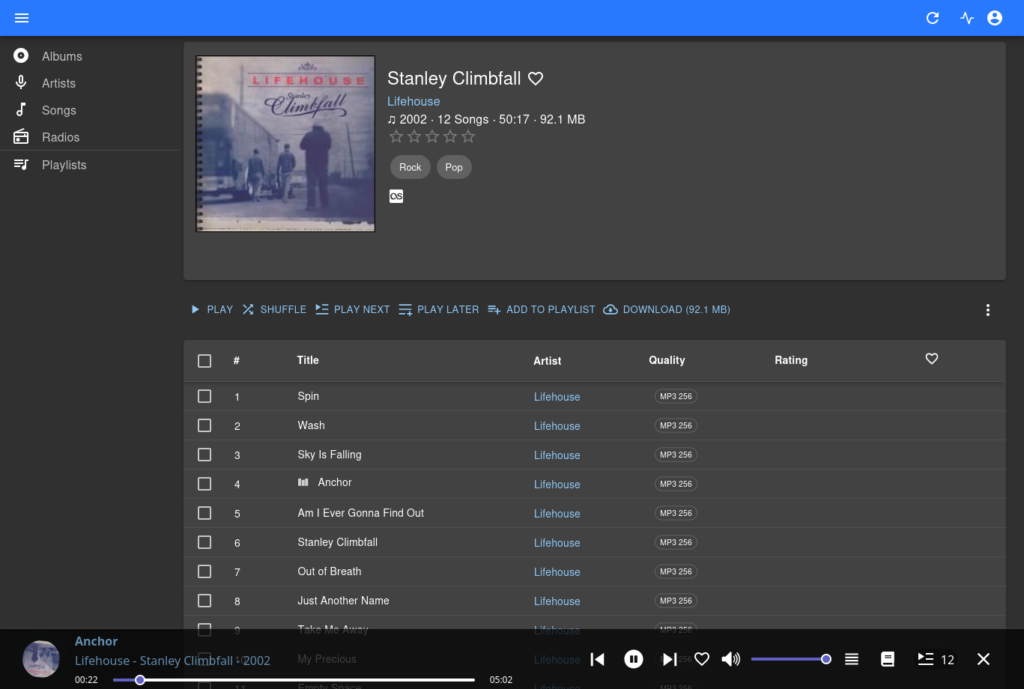
https://linuxiac.com/install-navidrome-music-streaming-server-with-docker/
Learn how to set up Navidrome with Docker in minutes with this step-by-step guide, perfect for streaming your music collection effortlessly.
By Bobby Borisov
Our music collections often feel scattered across countless devices, drives, and platforms. Wouldn’t it be great to store all your tunes in one convenient place that is accessible anytime, anywhere? That’s exactly what Navidrome, a free and open-source lightweight music server, makes possible.
Built with speed and efficiency in mind, Navidrome is one of the best free self-hosted music streaming software that can run on various hardware—ranging from powerful servers to modest single-board computers—yet robust enough to easily handle large libraries.
In this guide, I’ll walk you through the entire setup process and highlight a few handy tips so you can feel confident that you’re getting the most out of your new setup. By the end, you’ll have a powerful, user-friendly music streaming server at your fingertips.
Prerequisites
Before proceeding with the installation, ensure you have Docker installed on your system.
But if you don’t have it, fear not; any of the following guides will help you get it quickly. Pick the distribution you are using in one of the following links: Ubuntu 24.04, Debian 12, Arch, Alma/Rocky, Fedora, Linux Mint 22, Pop!_OS 22.04, or Raspberry Pi OS.
The other essential component is Docker Compose. Recent Docker versions now include Docker Compose by installing the “docker-compose-plugin” package. So, install it if it’s not already in your setup.
However, if you prefer, you can get it separately using both commands below. In that case, remember, when running the tool, type “docker-compose” instead of “docker compose.”
sudo curl -L "https://github.com/docker/compose/releases/latest/download/docker-compose-linux-$(uname -m)" -o /usr/local/bin/docker-compose
sudo chmod +x /usr/local/bin/docker-composeCode language: Bash (bash)
Install Navidrome with Docker Compose
The first step is to create the project directory in which our Docker Compose deployment file will be placed. Then switch to it; from here on, you need to execute all commands further down in this guide from that location.
mkdir navidrome
cd navidromeCode language: Bash (bash)
Next, create a “docker-compose.yml” file, like a blueprint for our Docker setup. This file will define the services, volumes, ports, etc., telling Docker Compose what to do and how to set up our Navidrome instance.
nano docker-compose.ymlCode language: Bash (bash)services:
navidrome:
image: deluan/navidrome:latest
container_name: navidrome
ports:
- "4533:4533"
restart: unless-stopped
environment:
ND_SCANSCHEDULE: 1h
volumes:
- "./data:/data"
- "/path/to/your/music/folder:/music:ro"Code language: Dockerfile (dockerfile)Agree that our deployment couldn’t be simpler. The main thing to focus on is the “volumes” section. Here’s how it works:
When you start the container, a “data” directory will automatically be created in your current one, providing persistence for Navidrome’s data, like the SQLite database and cache directory.
Now, about the second volume mount—this is where you’ll want to make a quick adjustment. The first part of the line, “/path/to/your/music/folder,” must be updated to point to the folder where your music collection is stored. And that’s it.
Save the changes and run the container in the background (detached mode):
docker compose up -dCode language: Bash (bash)
Now, let’s move to the most exciting part. Open your browser and navigate to “http://localhost:4533” (if you access Nvidrome from the same host) or “http://<server-ip-address>:4533“ (if you access it remotely). Of course, replace the “<server-ip-address>” part with your actual server’s IP address.
If, for some reason, something goes wrong, you can easily figure out what happened by checking the container log with this simple Docker command:
docker logs navidromeCode language: Bash (bash)When accessing Navidrome for the first time, you’ll be prompted to create an admin account. Fill in the username and password fields and click “CREATE ADMIN.”
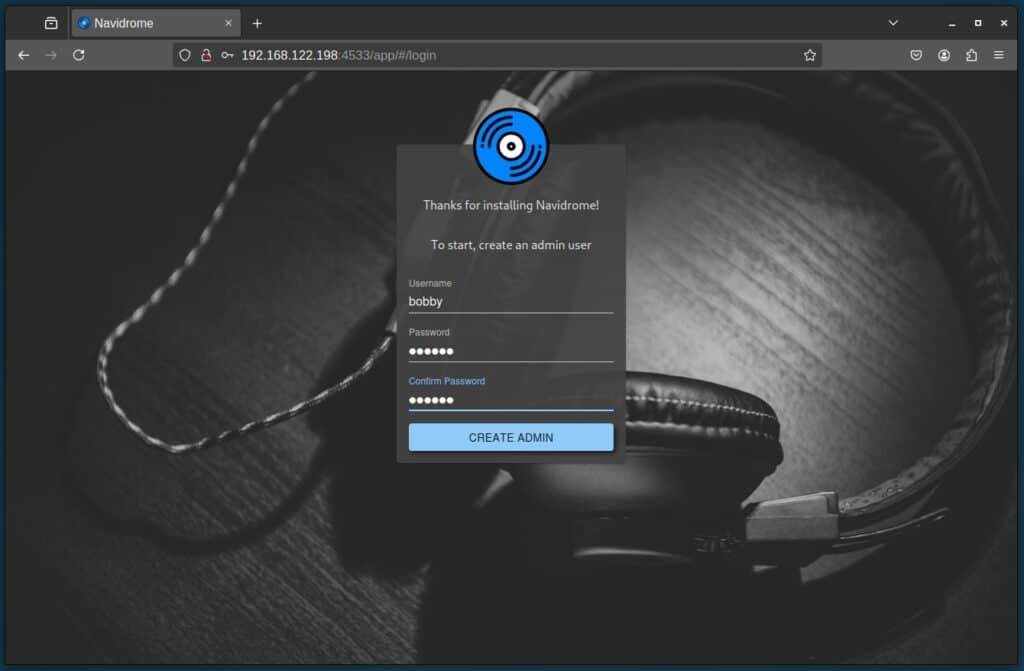
Once you’re logged into the Navidrome music streaming server, you’re all set. There’s nothing else to configure at this point, so go ahead and dive into the best part—enjoying your music collection!
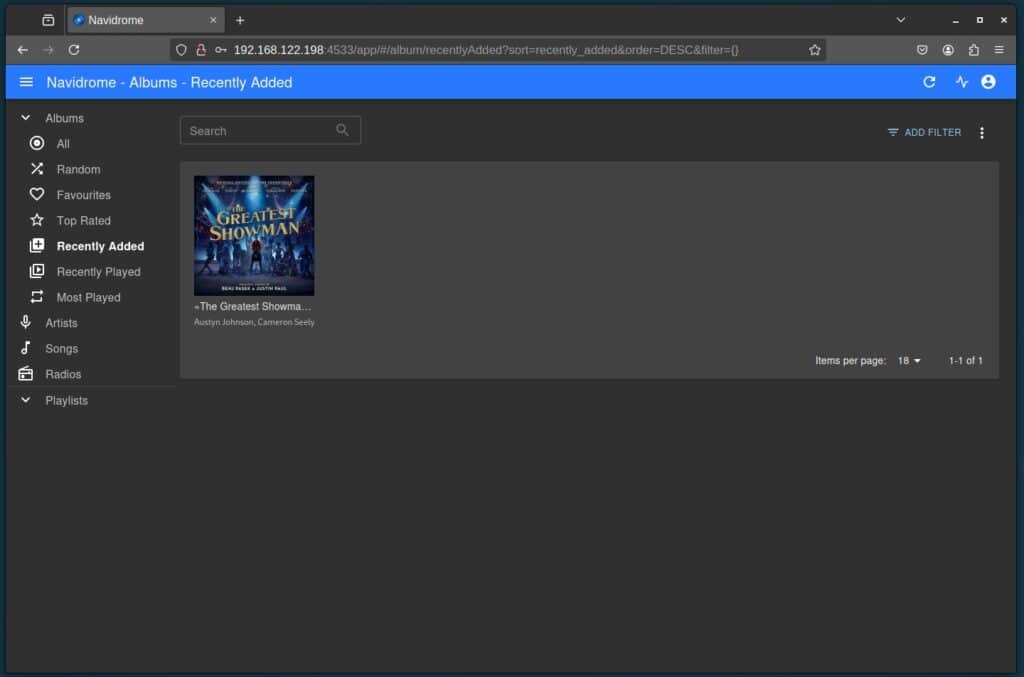
But before we wrap up, though, I’d like to share one more Navidrome setting that can significantly enhance your experience: artwork location resolution. This feature helps with displaying album covers and extra artist or album details.
Keep in mind that if this information isn’t already included as metadata in your music files, Navidrome won’t retrieve it automatically. I mean you can see the difference below, with and without the extracted meta information for the music files.
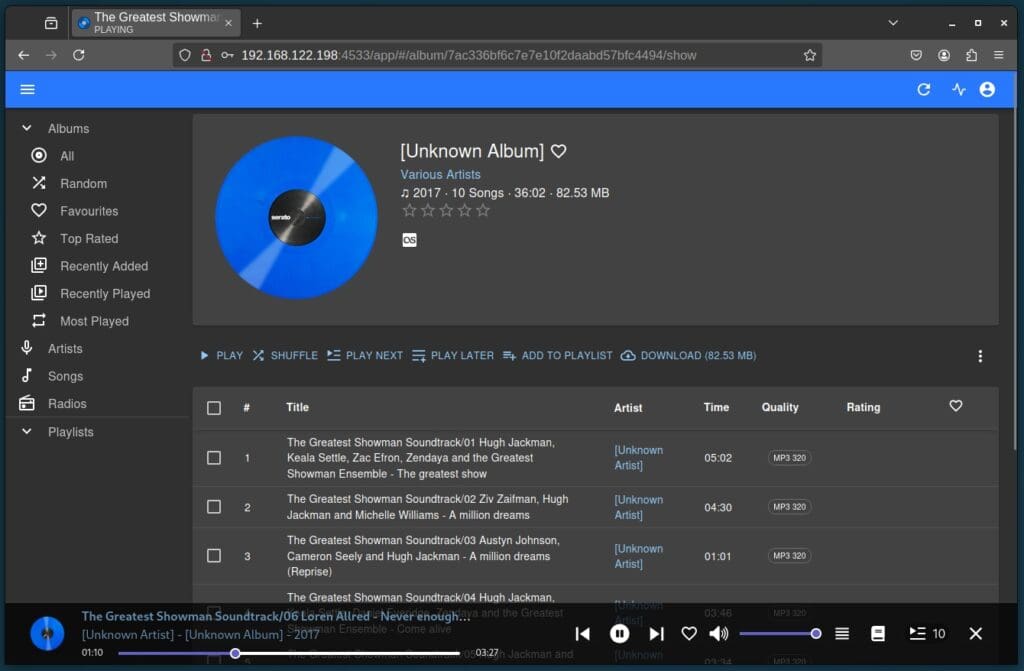
The good news is, if the metadata you need isn’t already included in the files of your music collection, Navidrome can fetch it from external sources like Spotify and Last.fm.
However, to enable this feature, you’ll need to set up free API accounts with both services first. Don’t worry—Navidrome’s official documentation has clear, step-by-step instructions to guide you.
Once you have the API keys and secrets for both services, add them as environment variables to the Docker Compose deployment as shown below:
services:
  navidrome:
    image: deluan/navidrome:latest
    container_name: navidrome
    ports:
      - "4533:4533"
    restart: unless-stopped
    environment:
      ND_SCANSCHEDULE: 1h
      ND_LASTFM_APIKEY: your-last-fm-api-key
      ND_LASTFM_SECRET: your-last-fm-api-secret
      ND_SPOTIFY_ID: your-spotify-api-key
      ND_SPOTIFY_SECRET: your-spotify-api-secret
    volumes:
      - "./data:/data"
      - "/path/to/your/music/folder:/music:ro"Code language: Dockerfile (dockerfile)
Finally, stop the Navidrome container and redeploy it:
docker compose down
docker compose up -dCode language: Bash (bash)
From now on, you can rest assured that if your music files are missing meta tags, Navidrome will automatically extract and display them beautifully in its interface.
Just a heads-up: Navidrome doesn’t let you edit any meta information or import it into your music collection. It’s purely for display within the app’s UI—nothing more, nothing less.
Conclusion
And there you have it! Setting up Navidrome with Docker is simple once you follow the steps. With your music collection now streaming effortlessly, you can enjoy your favorite tunes anytime, anywhere, without a hitch.
I hope this guide was helpful and made the process straightforward for you. If you have any questions or feedback, feel free to reach out in the comment section below.
For more detailed information about Navidrome, visit the project’s website. In addition, I strongly recommend checking out the official documentation, particularly the section on environment variables.
Now go ahead, crank up the volume, and enjoy the sweet sound of success—literally. Happy listening!