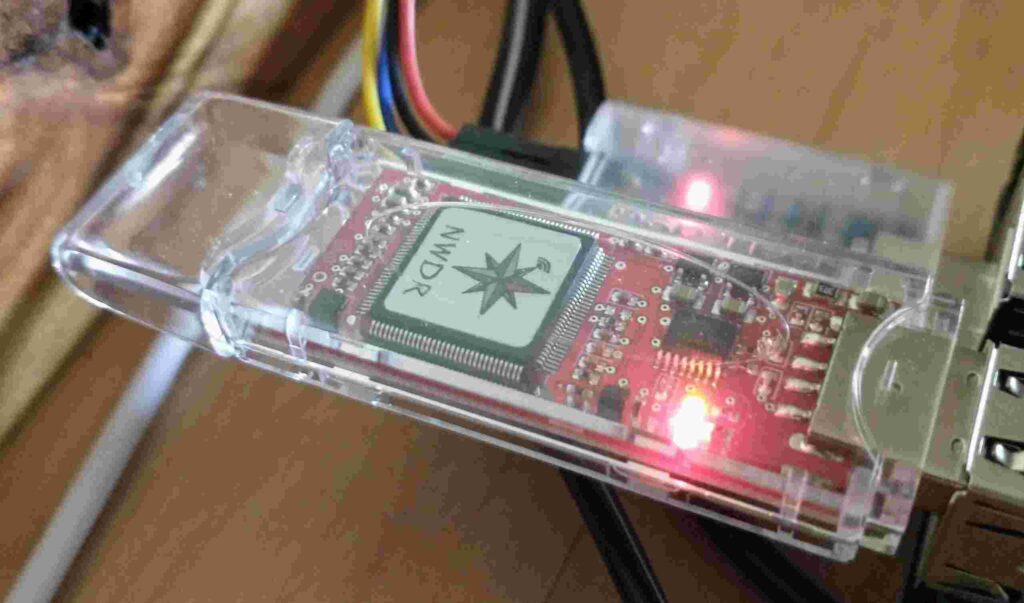
DVswitch Server is a software suite that allows access via the internet to ham radio digital modes, DMR, D-Star, YSF, NXDN, and P25, using your smartphone or an internet radio running Android, coded by Michael Zingman, N4IRR, and Steven Zingman, N4IRS. To access the DVSwitch Server you use the Android DVSwitch Mobile application or you can use the Analog-Reflector web client once installed and setup to work with DVSwitch Server. There are built in software codecs for the different digital modes, but it really excels if you use a USB AMBE vocoder dongle like the ThumbDV as the D-Star software codec is pretty poor.
Primarily designed to be run on a Raspberry Pi where they offer an image based on Debian 10, but the problem with Debian 10 is it’s about to reach end of life and we haven’t heard from the developers about updating the image or repository. But the Buster repository will work with Bullseye to get DVSwitch Server and Analog Reflector installed and working (Allstarlink won’t install with a dependency issue, but you can use the DVSwitch Mobile Android App to use Allstarlink directly acting as a node).
Once you have your Debian 11 Bullseye installed on your computer of choice, you’ll issue the following commands to add the repository and install DVSwitch Server and Analog Reflector.
wget http://dvswitch.org/buster
chmod +x buster
sudo ./buster
sudo apt update
sudo apt install dvswitch-server analog-reflector
Once completed, reboot the computer. Once rebooted run the setup script:
sudo /usr/local/dvs/dvsMost of this is pretty explanatory, but if you’re struggling with any part I’ll post a setup video and the documentation at the bottom. I’m trying to just hit on the main parts you need to complete the installation in order to get DVSwitch Server and Analog Reflector up and running.
Once you’re in the setup menu, select Initial Configuration:
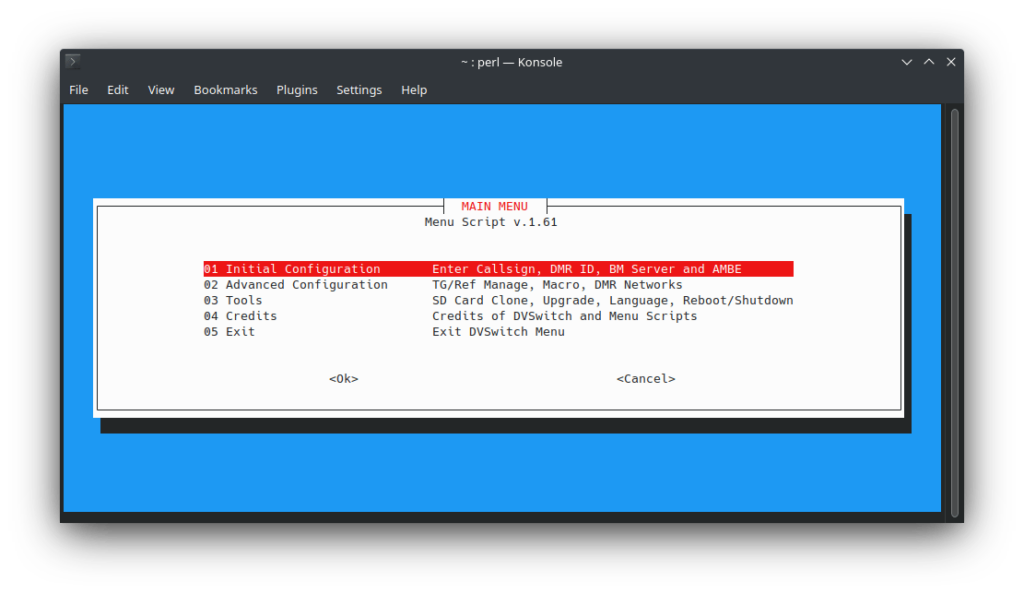
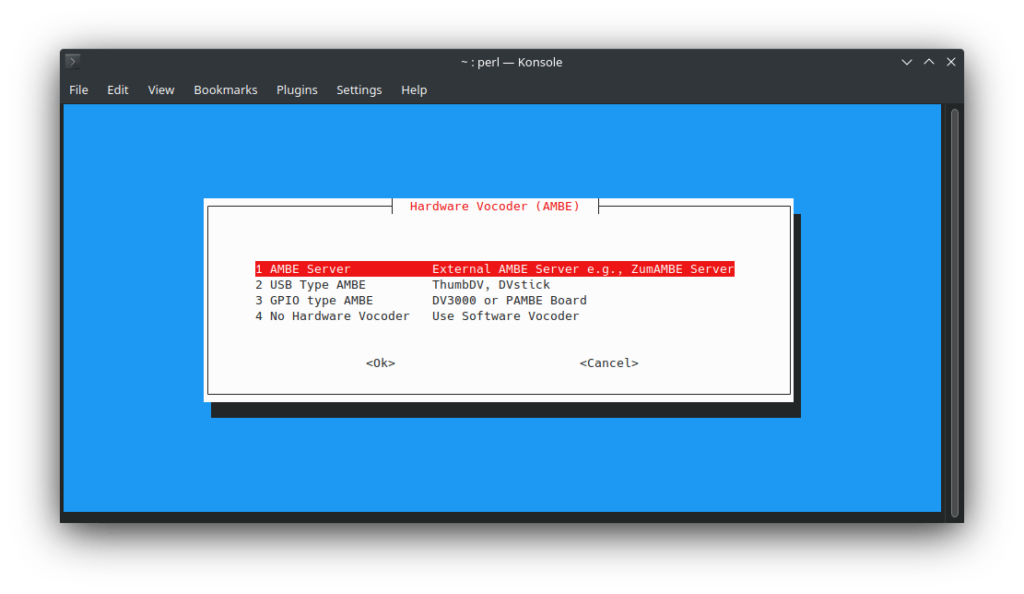
Everything it walks you through is straightforward. If you don’t have a DMR ID or NXDN ID, you can get them here. You’ll also need to register with BrandMeister and setup a hotspot password. Generally what people use for the USRP port is 50111, TX and RX. Once that data is entered, you then setup AMBE, if you don’t have an AMBE vocoder, select No Hardware Vocoder – Use Software Vocoder, otherwise setup what you have in the appropriate menu item. One note, I use the Canadian BrandMeister master server because the main admin of the American servers is a rude individual with a long history of abusing his users, but use whatever master that you would like.
When you get back to the Main menu select Advanced Configuration, then the first entry Configure Other Stanzas. This walks you through other setup data like location, but one note make sure you use the same frequency for both receive and transmit or you’ll get blocked on BrandMeister. And for URL you can use your QRZ lookup: https://www.qrz.com/db/callsign.
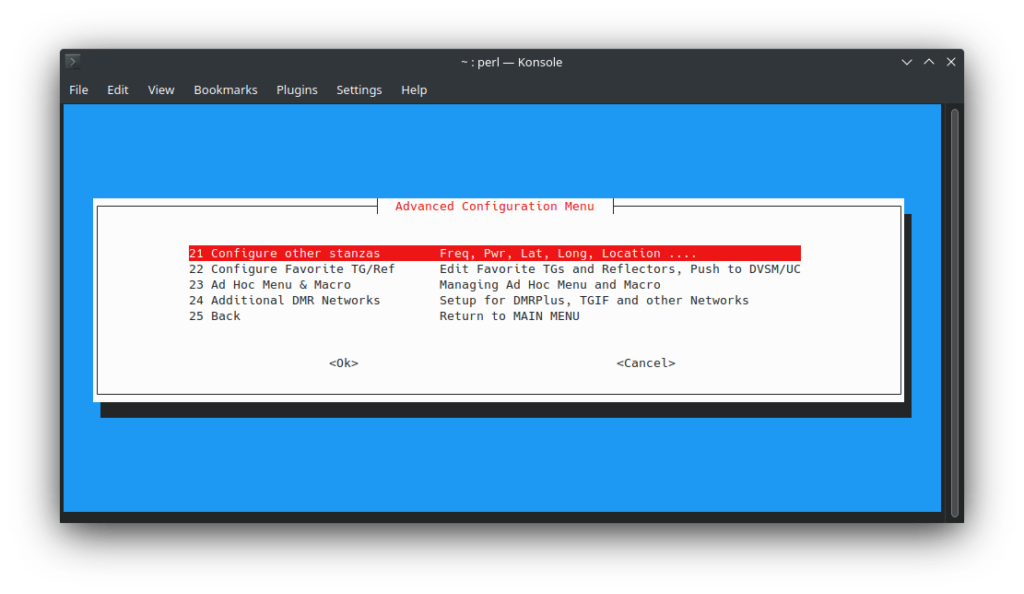
Next you’ll want to enable the Ad Hoc Menu & Macro menu item. This will allow you to add and switch DMR networks among some other menu enhancements, brought up by long pressing the * key. Now that DVSwitch Server is up and running it’s time to setup Analog Reflector.
cd /opt/Analog_ReflectorEdit Analog_Reflector.json and update your USRP port, and I change my mobile port as well.

Once you’ve saved the file, you’ll need to generate your SSL certificate. If you want to make Analog Reflector accessible from the internet you might want to investigate using NGINX Proxy Manager which would allow you to use free Let’s Encrypt SSL certificates. To create your own self signed certificate run the following commands.
cd /opt/Analog_Reflector/ssl/
sudo ./mkcerts.sh
Now we need to create a user for Analog Reflector. You’ll use your callsign, DMR ID, DMR ID and suffix, password and rights, 3 combining 1 and 2 for transmit and tuning (see Analog Reflector documentation at bottom).
cd /opt/Analog_Reflector/
sudo ./Analog_Reflector user callsign DMRID DMRIDXX password 3
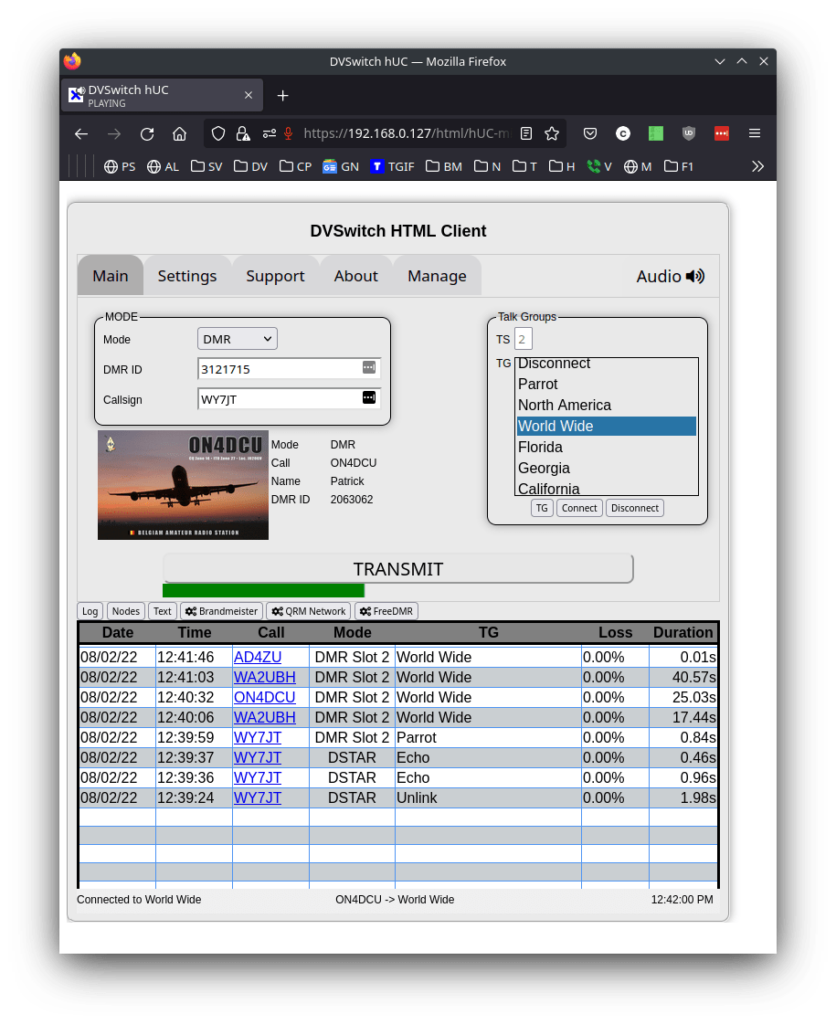
sudo systemctl restart analog_reflector.serviceNow Analog Reflector should be up and running. You can go to it by using https://ip/html/hUC-min.html (since self signed you’ll need to authorize your browser to access it). You’ll need to click on the Audio at top right to turn on audio, and it will prompt you to login. You can switch modes, and select reflectors and talk groups on the right.
Also as part of the DVSwitch package is the dashboard which can be found at http://ip/index.php
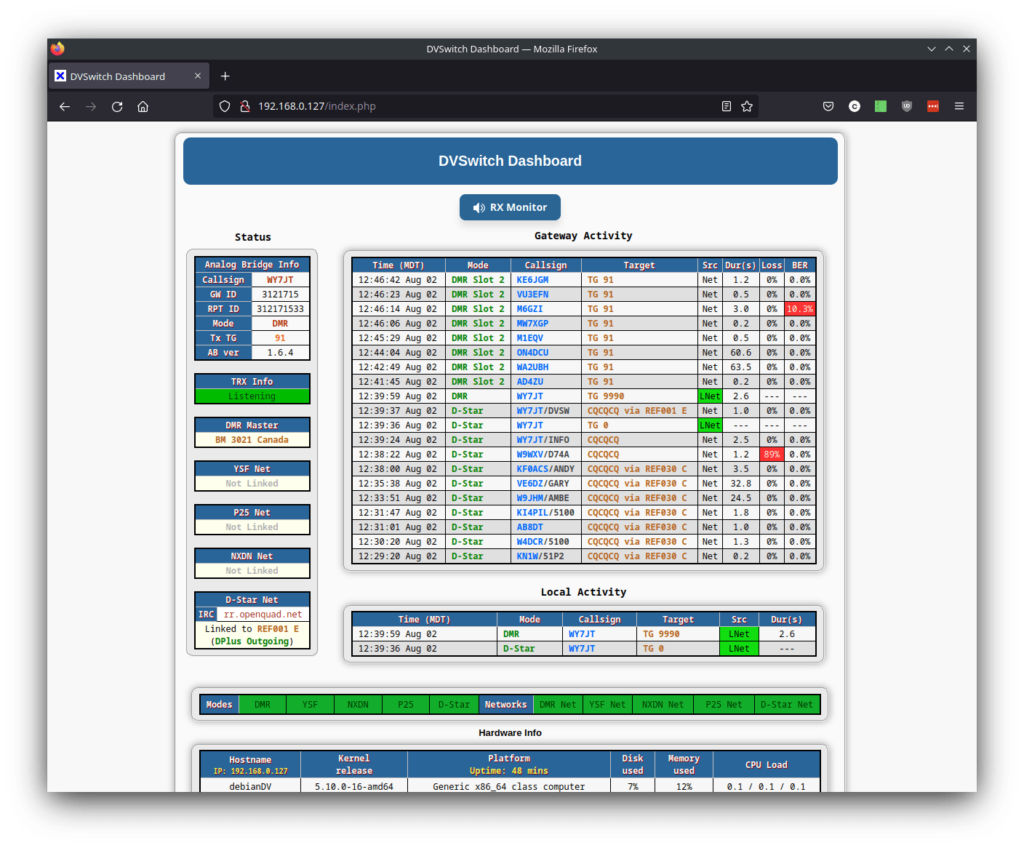
You’ll notice on the dashboard you also have a RX Monitor where you can listen if you’re not using the Analog Reflector page or DVSwitch Mobile Android App.
Now you’ll need to setup DVSwitch Mobile to access your new DVSwitch Server by going to the Accounts tab at the top and inputting your information (use your ip, callsign and DMR ID):
Back on the main screen you can select mode by holding down the A key.
Once you select a mode, hold down the B key and you’ll get a list of talk groups, reflectors, rooms… depending on mode. Some of these lists are quite large, but since no search functionality is there yet you scroll fast with your finger hitting it multiple times. It’s really not that difficult to get to US – America Link in YSF using this method.
And a handy new feature with the version 2 beta is you can hold down the # key and get the audio levels to adjust in real time.
Now I’ve made no mention of opening port 50111 on your router so you could access DVSwitch Server when away from home. You’ll have noticed that there was no password in your configuration, so anyone with the port could get on your DVSwitch Server, or anyone with nmap could find an alternative port and there have been some bad actors causing havoc on digital networks forcing hotspot passwords to be impletmented. So I’d recommend that you install Wireguard VPN on an available Raspberry Pi or your DVSwitch Server system and use that to connect to and access DVSwitch Server from the local network through the VPN. And I have a post on how to install Wireguard VPN with Docker or use PiVPN to install it natively. I’m not sure how hardened to attack DVSwitch Server is, but you can bet Wireguard VPN has been well tested, so a much better alternative to expose to the internet.
So now you should have a working DVSwitch Server with Analog Reflector so you can get on the digital modes with your phone and web transceiver. There is a lot more customization you can do, but this was a quick guide to get up and running and show that it isn’t that difficult. I actually installed a new Debian server on my Dell Poweredge R410 server under Proxmox so I could do all these steps and make sure it worked properly, but in case of an error or if you need some additional help I’ll include manuals and videos below. Have fun with the wonderful DVSwitch suite of programs courtesy of the Zingman brothers.
DVSwitch Installation and User Guide v1.61.pdf
Analog Reflector User Guide.pdf