Instead of trusting a third party for your VPN service when on public or someone else’s wifi network, you can easily install your own VPN on a Raspberry Pi. And with Wireguard VPN you’ll have one of the most modern, efficient and low overhead VPNs that will allow you to use the Raspberry Pi for other services or projects. This will also give you access to your local network and services you’ve setup like Pi-Hole DNS server with Unbound, adding DNS privacy and ad filtering to your mobile phone even while away from home.
There are two ways to install Wireguard, so if you want to install natively the easiest way is with PiVPN which is an interactive script to help you setup the VPN which couldn’t be easier. But for this article we’ll install the Wireguard docker image which is even easier. To get started you’ll want to create the directory to hold your docker-compose.yml file.
mkdir wireguard
cd wireguard
Then create the file docker-compose.yml with the following:
version: "2.1"
services:
  wireguard:
    image: linuxserver/wireguard
    container_name: wireguard
    cap_add:
      - NET_ADMIN
      - SYS_MODULE
    environment:
      - PUID=1001
      - PGID=100
      - TZ=America/Denver
      - SERVERURL=auto
      - SERVERPORT=51820
      - PEERS=1 #change to match how many devies you want to use Wireguard on
      - PEERDNS=auto
      - INTERNAL_SUBNET=10.13.13.0 #optional
      - ALLOWEDIPS=0.0.0.0/0 #optional
    volumes:
      - /path/to/appdata/config:/config
      - /lib/modules:/lib/modules #do not change
    ports:
      - 51820:51820/udp
    restart: unless-stopped
networks:
      default:
        external:
          name: wireguard
If you want more than one device to be able to use the VPN, set PEERS to a the number you’ll need. Now before we run the instance, we’ll need to create the Docker network.
docker network create wireguardAnd then run your instance.
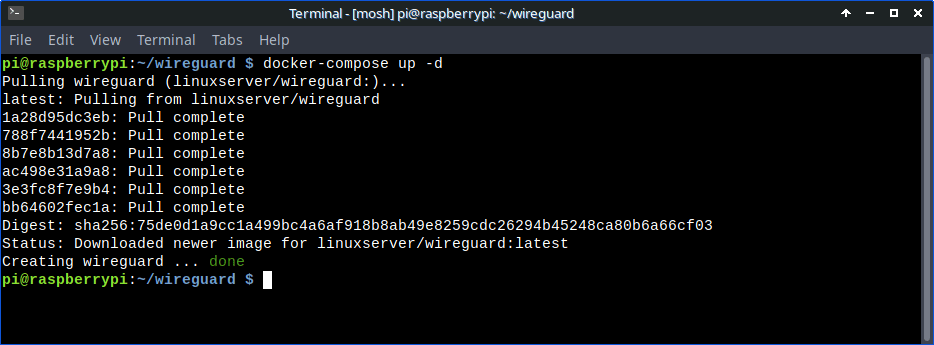
docker-compose up -d
You’ll need to open the port 51820 on your home router and point it to your Raspberry Pi for incoming connections.
Now you’ll want to install the Wireguard app on your smartphone, and for this example we’ll use Android.
https://play.google.com/store/apps/details?id=com.wireguard.android&hl=en_US&gl=U
Now to add your Wireguard instance to your app you’ll need to scan the QR code, so to display the QR code in your terminal you can run the following command and give it your peer number.
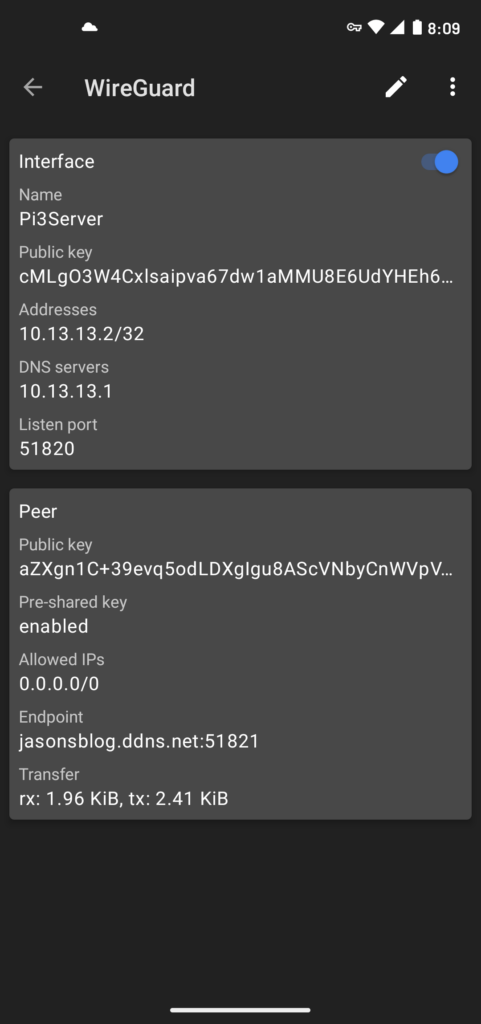
docker exec -it wireguard /app/show-peer 1You’ll hit the add (plus) sign in the bottom right of the phone app, and then select Scan From QR Code, which will open the camera for you to scan the QR code. Once added select the VPN in the list and click the pencil icon at top right to edit the entry and add your dynamic DNS entry. Then you just click the slider to connect to your Pi Wireguard VPN. If it’s working at the bottom you’ll see traffic coming down and going up. And now you’re on your local network at home and can access local machines, use your private DNS servers or access any other services you like without having to expose them to the internet.

Note, that this is my second Wireguard VPN on my network, so I used port 51821 witch routes to 51820 in my docker image. Redundancy is nice, so I also have a Wireguard install on another Pi using the default port 51820. And you can change these ports to whatever you would like, but do search for the port online and make sure you’re not using the default port for another service if you’re looking for a little security by obscurity.
And just that easily you have your own VPN service to use when away from home. And using commercial VPN services is starting to get complicated as they’re being bought up by large corporations, with one particular one having a connection to an intelligence agency. So if you do use a commercial VPN service make sure you research them and see that they have undergone a full audit to their claims of keeping no logs and honoring their service commitments. But at least you can trust your very own VPN service you control.