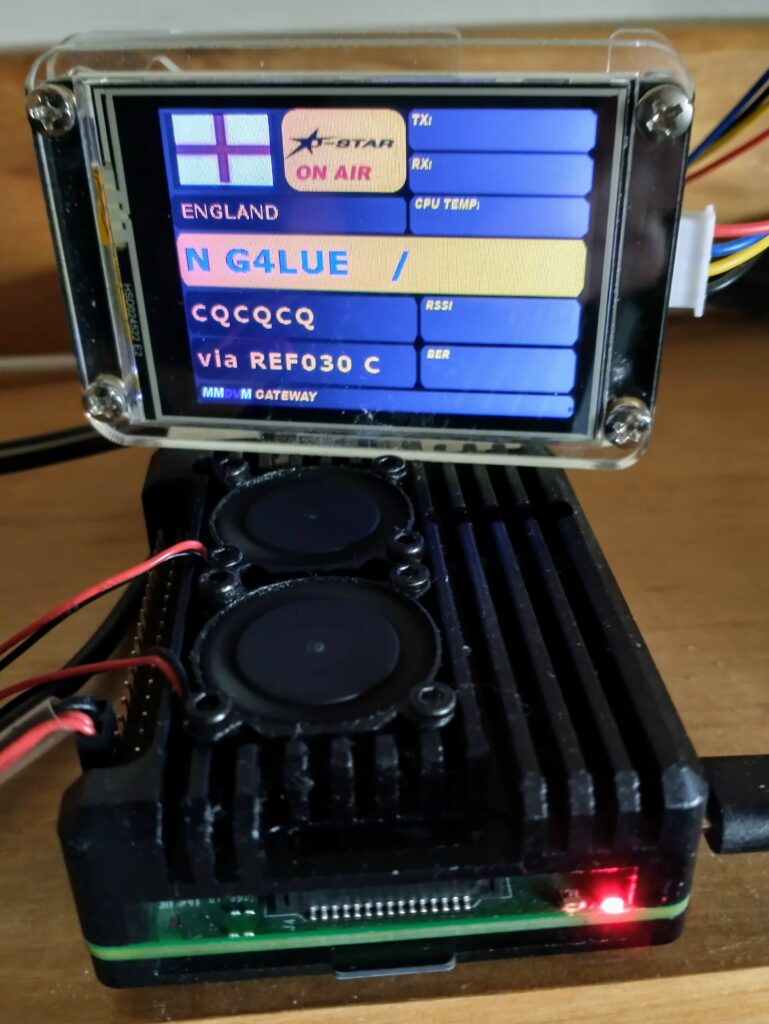
The Raspberry Pi’s can easily be overclocked but this all depends on your cooling solution. If you have a good heatsink, preferably with a fan or two, you can turn up the Pi and improve performance and still keep the temperatures down. At the bottom of the post is a list of parameters to overclock each Raspberry Pi from and tested by Tom’s Hardware, and below that is a listing of the parameters from Hayden James’ blog. Moreover, you can also scale them back and experiment based on how your Pi performs.
There are several case designs that include fans, but my favorite is the Armor dual fan design offered by different manufacturers. You have a large heatsink on top and bottom, and the top includes two quiet fans.

A maintenance tip for these simple bushing fans is to remove them when one becomes noisy, remove the label from the bottom and add a drop of synthetic oil. And they’ll be quiet for a few more months.
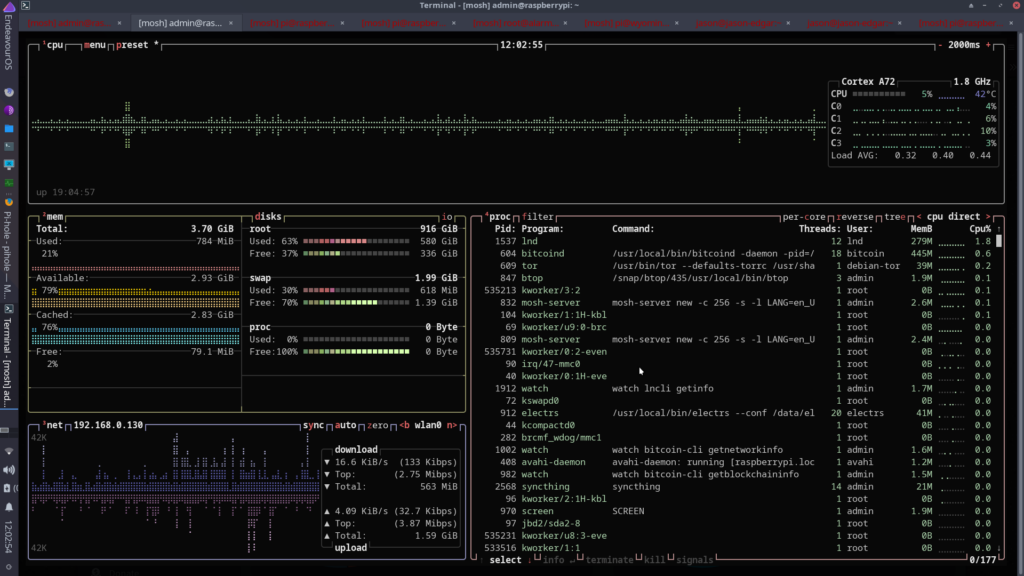
And the proof of this in the putting, various Pi’s in the home lab that have been overclocked. To the top right of Btop++ you can see the CPU maxed with the running temperature.

To overclock your Pi you’ll want to edit the file /boot/config.txt and add the statements from the table below, and then reboot. You maybe have noticed I wasn’t as aggressive with some of my machines, so you can scale back as you wish. Mainly you’re looking for some speed boost without stressing the system so it will be stable and run cool. My Pi Zero W just has a heatsink, and you’ll see it’s pushing the temperature a bit. I also have a Raspberry Pi Zero 2 W with heatsink, but stock that unit is running around 50C so overclocking would require another cooling solution.
One thing to be aware of, setting force_turbo=1 which locks the CPU frequency to the highest value will set the void warranty bit and of course void the warranty. So use that one with caution, but depending on where you bought the Pi the warranty might already be over. And with no supplies of Rasperry Pi’s available, you don’t want to damage the ones you have. But it’s very easy to overclock the Pi without damaging the unit provided you have a good cooling solution. So have fun experimenting.
| Model | config.txt settings |
|---|---|
| Raspberry Pi 1 Model A & B | arm_freq=1000 |
| core_freq=450 | |
| over_voltage=6 | |
| Raspberry Pi A+ / B+ / Compute Module Cooling Required | arm_freq=1100 |
| core_freq=450 | |
| sdram_freq=450 | |
| over_voltage=6 | |
| Raspberry Pi 2 v1.1 | arm_freq=1000 |
| core_freq=500 | |
| over_voltage=2 | |
| Raspberry Pi 2 V1.2 (Shares the same CPU as a Raspberry Pi 3) | arm_freq=1300 |
| core_freq=500 | |
| over_voltage=4 | |
| Raspberry Pi 3 & Compute Module 3 | arm_freq=1300 |
| core_freq=500 | |
| over_voltage=4 | |
| Raspberry Pi 3 A+ / B+ / Compute Module 3+ | arm_freq=1500 |
| over_voltage=4 | |
| Raspberry Pi 4 / 400 / Compute Module 4 | arm_freq=2200 |
| gpu_freq=750 | |
| over_voltage=6 | |
| force_turbo=1 | |
| Raspberry Pi Zero / Zero W | arm_freq=1100 |
| core_freq=450 | |
| over_voltage=6 |
Raspberry Pi 3 Overclock options
- arm_freq– Frequency of ARM in MHz. (Raspberry Pi 3 Overclock)
- core_freq -Frequency of GPU processor core in MHz. It has an impact on ARM performance since it drives L2 cache.
- sdram_freq -Frequency of SDRAM in MHz.
- over_voltage – ARM/GPU core voltage adjust. Values above 6 are only allowed when force_turbo or current_limit_override are specified (which set the warranty bit).
- force_turbo – Disables dynamic cpufreq driver and minimum settings below. Voids Warranty.
- initial_turbo -Enables turbo mode from boot for a value in seconds (max 60) or until cpufreq sets a frequency. Default 0
- arm_freq_min – Minimum value of arm_freq used for dynamic clocking.
- core_freq_min – Minimum value of core_freq used for dynamic clocking.
- sdram_freq_min – Minimum value of sdram_freq used for dynamic clocking.
- temp_limit – Overheat protection. Sets clocks and voltages to default when the SoC reaches this Celsius value. Setting this higher than default voids warranty. Default 85
- disable_splash – If set to 1, avoids the rainbow splash screen on boot.
- boot_delay – Wait for x number of seconds in start.elf before loading kernel. Default 1
- gpu_mem – GPU memory in megabyte. Sets the memory split between the ARM and GPU. ARM gets the remaining memory.