Pi-hole has to be one of the best things you could run on your home network to protect your privacy and enable advertisement, tracking, and malware site blocking for all the devices on the local network. This is especially helpful for Android phones and tablets where Google makes it difficult to use ad blockers not to mention other network and streaming devices.
And if you add Unbound for your upstream validating, recursive, and caching DNS server you get the added protection of privacy from upstream DNS servers that could be logging and tracking every site you visit (See previous post on ISP tracking). As a recursive DNS server, Unbound will look for the authoritative DNS server responsible for the site you’re visiting, giving you added protection from DNS injection attacks on large DNS servers. This makes the first lookup just slightly slower, but it will cache the result making future lookups fast. The Pi-hole documentation on Unbound has a much more detailed explanation to familiarize yourself with.
If you’re unfamiliar with Docker, it’s a virtualization container system for easily adding software. It adds chroot, namespace, file, and network isolation from the host operating system giving you protection (note that Docker does share the host OS kernel).
Install Docker
To install Docker on your Raspberry PI:
curl -fsSL https://get.docker.com -o get-docker.shThen run the installation script:
sudo sh get-docker.shThen append a non root user to the docker group to run docker commands. The default pi user is below, but you can change to the user you’ve setup on your Raspberry Pi.
sudo usermod -aG docker piTo test the install:
docker version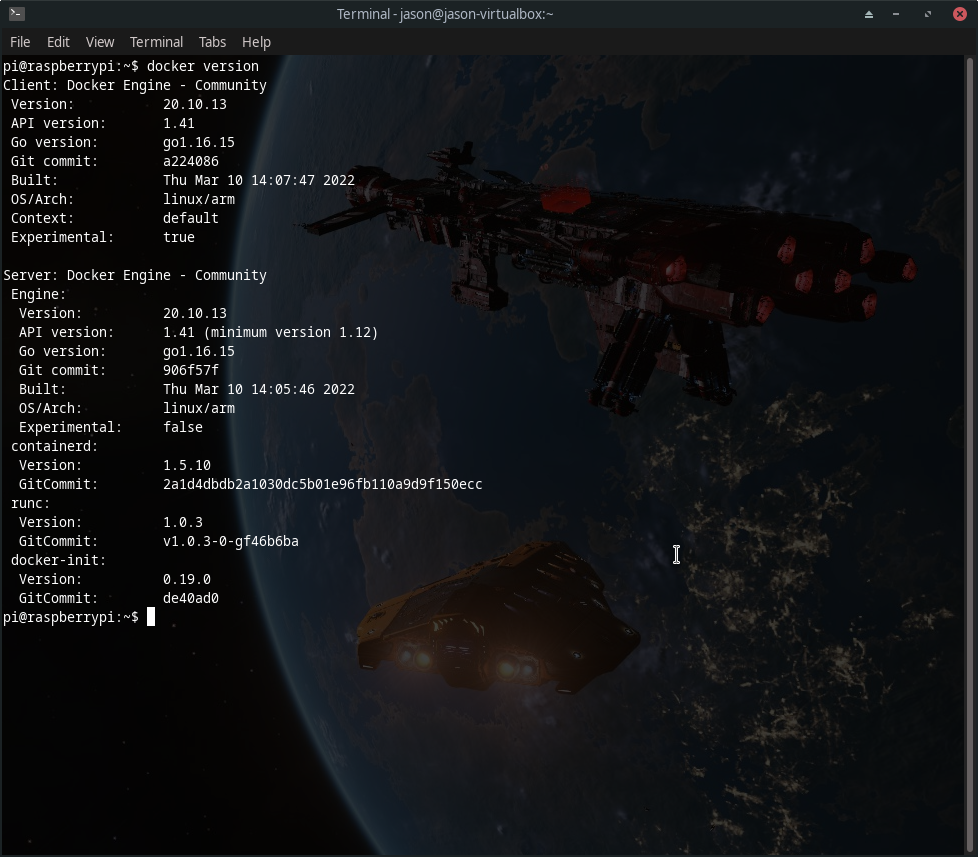
Now you’ll want to make sure docker starts on reboot:
sudo systemctl enable dockerInstall Docker-Compose
For installing docker-compose, you’ll need python and pip3:
sudo apt install libffi-dev libssl-dev
sudo apt install python3-dev
sudo apt install -y python3 python3-pip
Then install docker-compose:
sudo pip3 install docker-composeInstall Pi-hole and Unbound Docker images
Inspiration: https://www.xfelix.com/2020/09/pihole-unbound-docker-setup-on-raspberry-pi/
Make a directory for Pi-hole and unbound:
mkdir pihole
mkdir unbound
In the unbound directory create the following file:
touch a-records.confThen add unbound.conf with the following:
server:
# If no logfile is specified, syslog is used
# logfile: "/var/log/unbound/unbound.log"
verbosity: 0

access-control: 172.16.0.0/12 allow
access-control: 127.0.0.0/8 allow
access-control: 10.0.0.0/8 allow
access-control: 192.168.0.0/16 allow
interface: 0.0.0.0
port: 5053
do-ip4: yes
do-udp: yes
do-tcp: yes

# May be set to yes if you have IPv6 connectivity
do-ip6: no

# You want to leave this to no unless you have *native* IPv6. With 6to4 and
# Terredo tunnels your web browser should favor IPv4 for the same reasons
prefer-ip6: no

# Use this only when you downloaded the list of primary root servers!
# If you use the default dns-root-data package, unbound will find it automatically
# I have to quote out this root-hints, as it causing container endless restarting for a new installation. You can add root-hints back after first run.
#root-hints: “/opt/unbound/etc/unbound/root.hints”

# Trust glue only if it is within the server's authority
harden-glue: yes

# Require DNSSEC data for trust-anchored zones, if such data is absent, the zone becomes BOGUS
harden-dnssec-stripped: yes

# Don't use Capitalization randomization as it known to cause DNSSEC issues sometimes
# see https://discourse.pi-hole.net/t/unbound-stubby-or-dnscrypt-proxy/9378 for further details
use-caps-for-id: no

# Reduce EDNS reassembly buffer size.
# Suggested by the unbound man page to reduce fragmentation reassembly problems
edns-buffer-size: 1472

# Perform prefetching of close to expired message cache entries
# This only applies to domains that have been frequently queried
prefetch: yes

# One thread should be sufficient, can be increased on beefy machines. In reality for most users running on small networks or on a single machine, it should be unnecessary to seek performance enhancement by increasing num-threads above 1.
num-threads: 1

# Ensure kernel buffer is large enough to not lose messages in traffic spikes
so-rcvbuf: 1m

# Ensure privacy of local IP ranges
private-address: 192.168.0.0/16
private-address: 169.254.0.0/16
private-address: 172.16.0.0/12
private-address: 10.0.0.0/8
private-address: fd00::/8
private-address: fe80::/10

#plex
private-domain: plex.direct
Then edit the file docker-compose.yml in the pihole directory and add the following:
version: '3'

networks:
  dns_net:
    driver: bridge
    ipam:
        config:
        - subnet: 172.20.0.0/16

services:
  pihole:
    container_name: pihole
    hostname: pihole
    image: pihole/pihole:latest
    networks:
      dns_net:
        ipv4_address: 172.20.0.6
    ports:
    - "53:53/tcp"
    - "53:53/udp"
    - "8888:80/tcp"
    - "8443:443/tcp"
    environment:
    - 'TZ=America/Denver'
    - 'WEBPASSWORD=passw0rd'  #set your password for dashboard here
    - 'DNS1=172.20.0.7#5053'
    - 'DNS2=no'
    volumes:
    - '/home/pi/pihole/etc-pihole/:/etc/pihole/'
    - '/home/pi/pihole/etc-dnsmasq.d/:/etc/dnsmasq.d/'
    restart: unless-stopped
  unbound:
    container_name: unbound
    image: mvance/unbound-rpi:latest
    networks:
      dns_net:
        ipv4_address: 172.20.0.7
    volumes:
    - /home/pi/unbound:/opt/unbound/etc/unbound
    ports:
    - "5053:5053/tcp"
    - "5053:5053/udp"
    healthcheck:
      disable: true
    restart: unless-stopped
Once created it’s time to run the docker containers by executing the following in the pihole directory where you docker-compose.yml file is located:
docker-compose up -dThis tells docker-compose to process your yml file and activate the containers (up) and run in the background (-d). You should see that docker downloaded and ran the Pihole and Unbound containers:
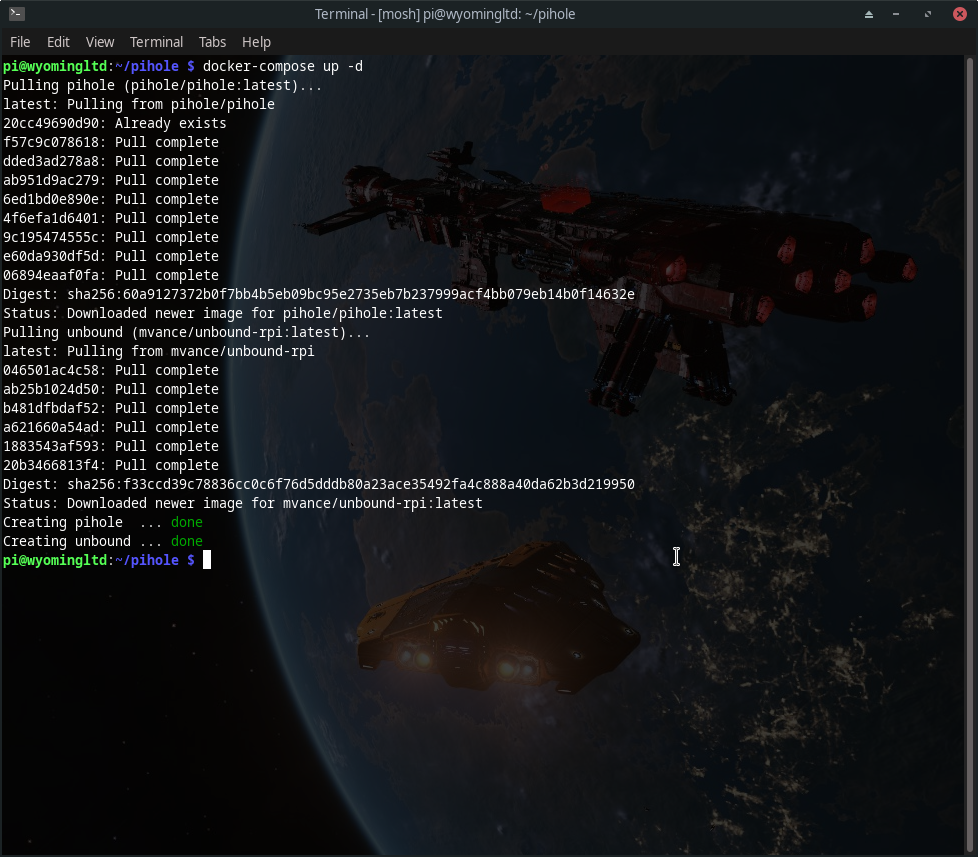
Now you should be able to verify it’s running by issuing:
docker statsAnd you can visit the webpage from the IP of the Raspberry Pi with port :8888/admin added to the IP address:
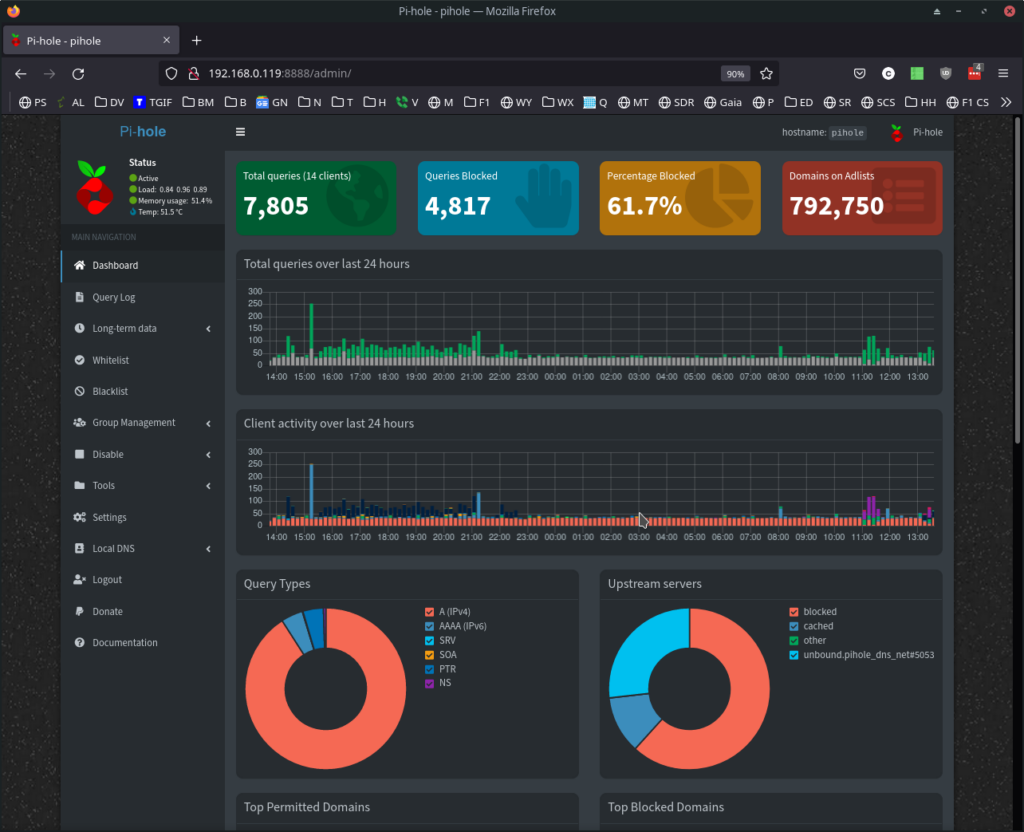
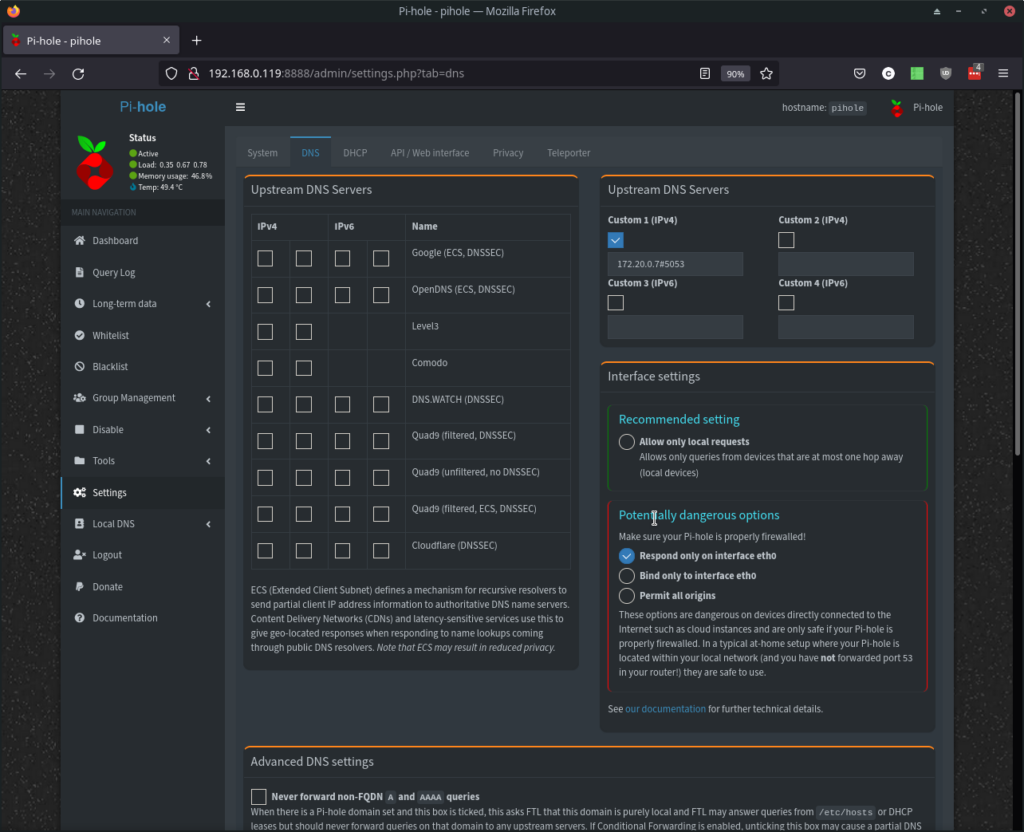
Login using your password you set in the docker-compose.yml file, go into Settings, and select the DNS tab to double check that unbound is configured as your DNS server on port 5053:
You’ll then want to add the Pi-hole server address to your router/firewall to be assigned to devices through DHCP. In my case this Pi-hole install is the backup for a Raspberry Pi 2 that is my primary Pi-hole and Unbound server where I installed them natively without docker, but I have to say this docker method is easier.
Adding Additional Blocklists
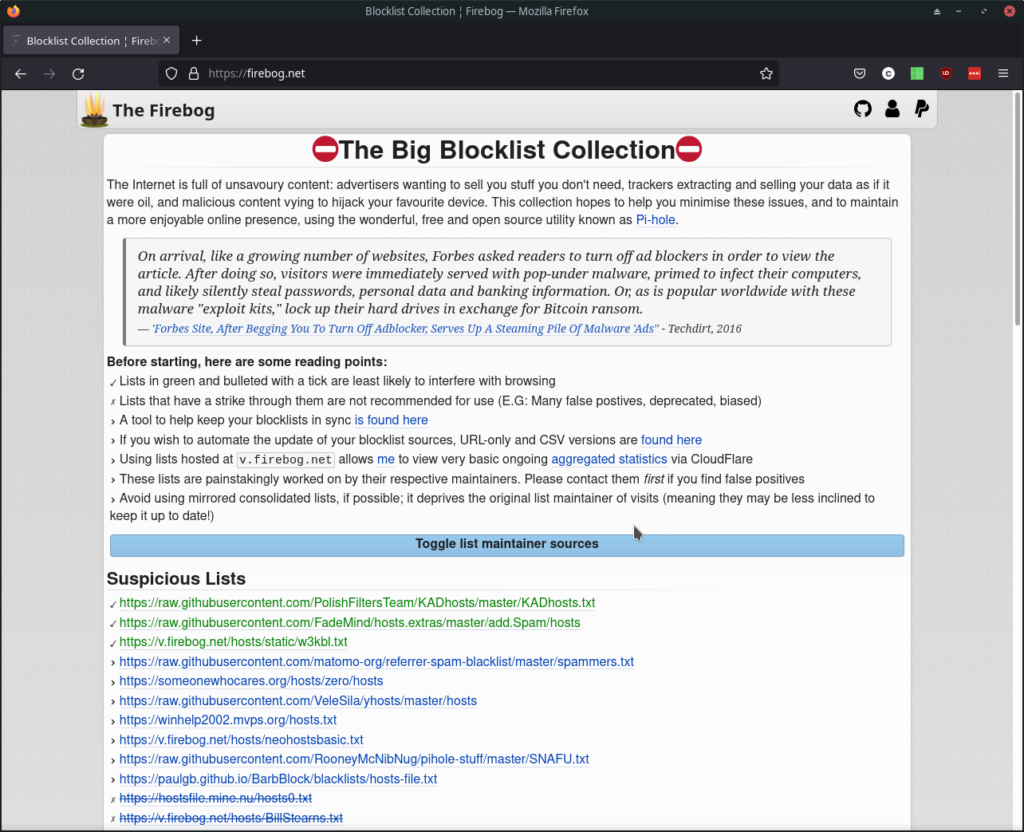
The default install only has one blocklist active, but there are several more curated lists you can add. Go into Group Management and select Adlists for the screen where you can add more lists. And Firebog has a collection of lists. Those in green are safe, and in blue with no line through them should be safe in not interfering with websites and requiring you to intervene. I’ve added all of them except the Facebook one as the wife still uses Facebook in a limited capacity.
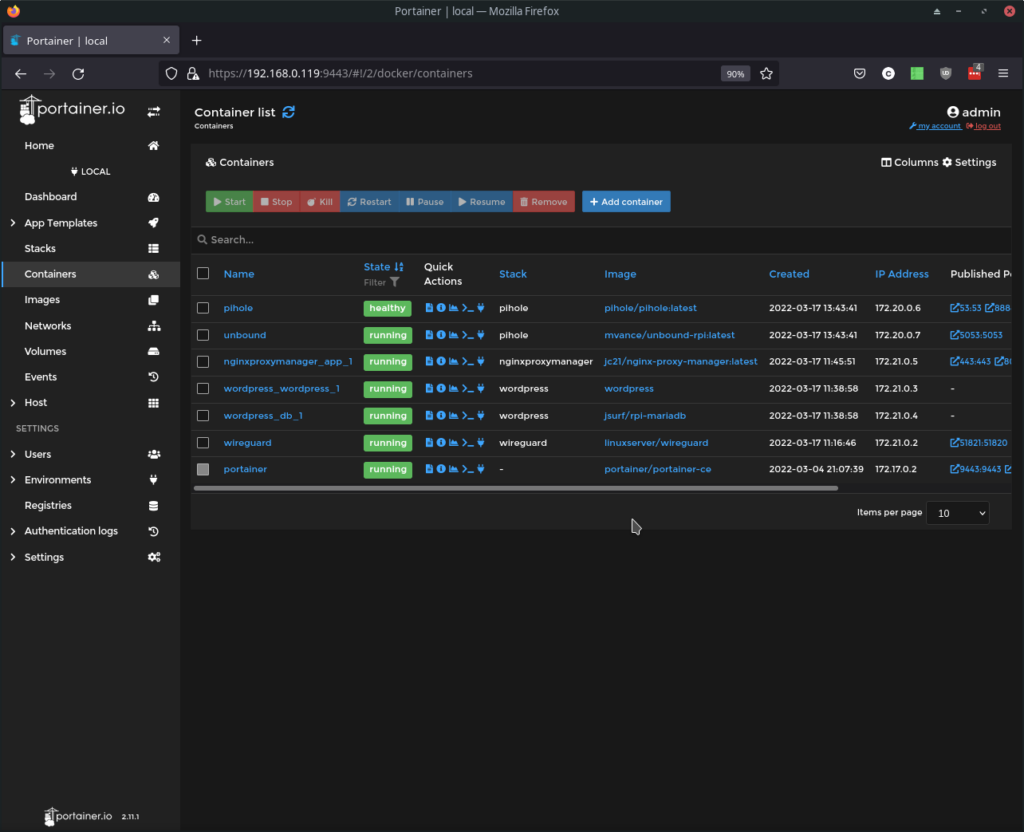
The site I linked above who I used has some additional instructions and how to update the docker containers. I’m still a very new Docker user, but I do see why it’s so popular. Handier than using the command line for managing docker is a docker container called Portainer. Enjoy and I’ll give a Portainer screenshot below that should motivate you to install it too.